
ASSEMBLY INSTRUCTIONS
Since your bed is custom-made and tailored to specific requirements, you need to follow certain assembly instructions.
They are as follows:
1Carefully unpack the packages. Do not use sharp objects to avoid damaging the bed.
In the packages, you will find:
– The high headboard,
– The low footboard,
– The middle beam,
– The two side rails,
– The wooden slats,
– A set of caps for the slats,
– Bolts and nuts.
Place the higher headboard in its position.

2Examine the two side rails. We have attached the caps where the wooden slats will fit.
Note that there is a small mark on one end of the side rail.
Position the side rail so that the mark is facing the high headboard.
There is also a mark on the right side rail. It should also be facing the high headboard.
Place the right side rail in its position as well.

3Examine the bolts and nuts and place them as shown in the pictures.

It is advisable to have two people for the next step to assist each other.
4
Lift the left side rail and attach it to the high headboard using the two mounting bolts. Hand-tighten the nuts. Do not tighten them too much.
Carefully attach the other end of the left side rail to the low footboard with the other two screws. Again, do not tighten the nuts too much.
Assemble the right side rail in the same manner.

The bed is now taking shape.
5
Examine the middle beam.
It has a „P“-shaped fixing rail attached with plastic rivets.
One end of the rail also has a mark. Place this end toward the high headboard.
Now place the middle beam on the support pads of the headboards. Align it so that the holes for securing the beam to the support pads match, and screw in the small bolts. Do not tighten them too much.


This is how the bed should look before placing the beech slats.
The plastic caps where the slats will go should be installed in the sockets of the left and right side rails. The sockets on the middle beam should be empty.
Remove the plastic rivets, leaving only the first one closest to the high headboard. Press it in until it is fully inserted.
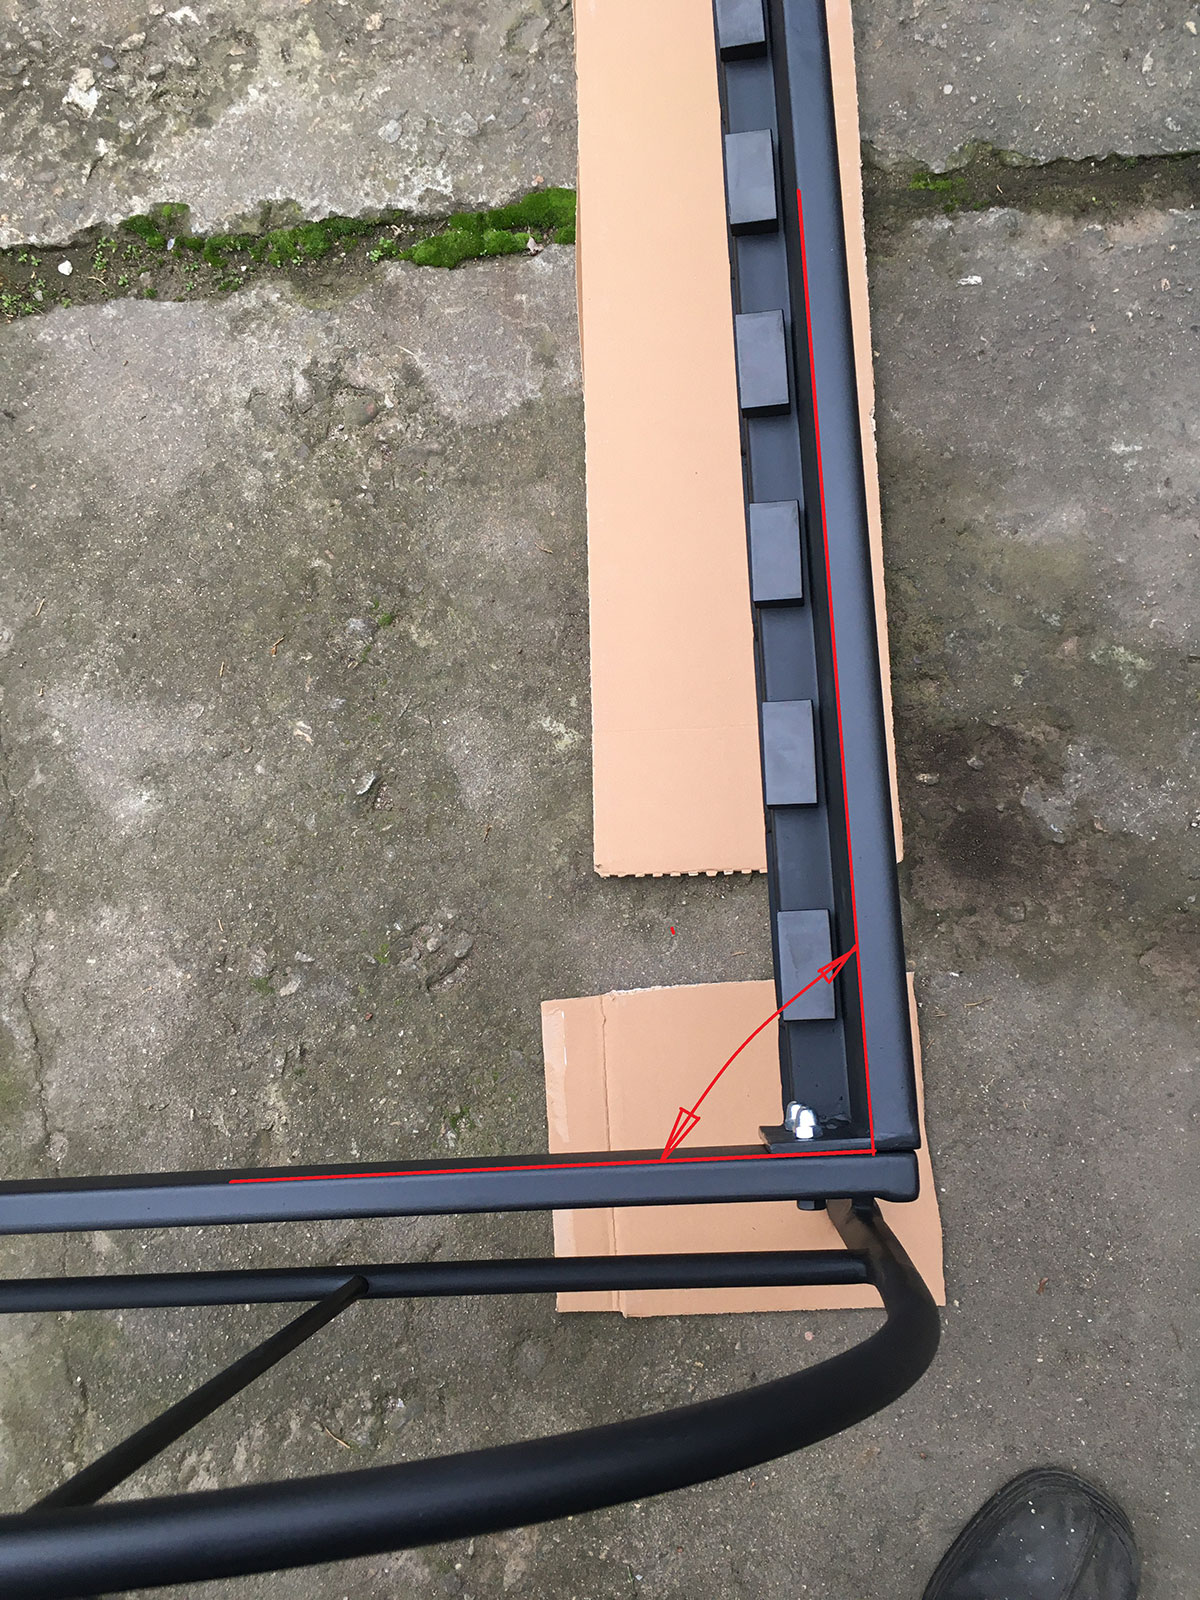
Align the bed so that the angles between the headboards and the side rails are approximately 90 degrees. This can be done by moving the small footboard to the left or right.
Now tighten all the bolts and nuts. Use a 13mm wrench for the large bolts and a 10mm wrench for the small ones. Use a second wrench to provide a counterhold, ensuring the nuts are securely tightened onto the bolts.
All that’s left is to arrange the wooden slats.

From both ends of the middle beam, there are 14 slats, of which 5 are reinforced and provide ergonomics for the headboards.
Place the 5 reinforced slats in positions 4, 5, 7, 8, and 9.
You can adjust their firmness by moving the yellow regulators located at both ends of the slats. You may also rearrange the double slats as you see fit for better results.
Take one slat and insert it into the first slot on the left side rail.
At the other end of the slat, place one of the plastic caps from the set you set aside earlier. Position this end under the first slot of the „P“-shaped rail on the middle beam.
Similarly, take another slat, insert it into the first slot on the right side rail. Place a plastic cap on the other end of the slat and insert it into the first slot of the middle beam, opposite the left slat.
Once you have placed 3-4 sets of slats, secure them with the plastic rivets. Insert the rivets into the holes and press them in with moderate pressure until they are fully seated.
In the photos, we have not pressed them all the way in, but this is just for demonstration. You should press them in fully.


Place the double slats and continue with the single slats until all are installed.


The assembly is complete.

КОВАЧА АРТ МЕТАЛ ЕООД
Малка работилница с внимание към детайла и любов към ръчната изработка.
Създаваме спални от ковано желязо по поръчка – здрави, красиви и дълготрайни.


